Actuals: A Comprehensive Guide
Last updated: August 7, 2025
Watch Video Demo Here
Accurately tracking project expenditures is fundamental to understanding profitability and maintaining budget control. The enhanced actual cost entry feature provides a more intuitive, flexible, and comprehensive way to log labor, materials, equipment, and other costs as they are incurred on a project. This guide will walk you through its purpose, benefits, configuration options, and practical examples to help you master this essential tool.
Overview
The primary purpose of the enhanced actual cost entry system is to allow for precise and efficient tracking of all expenses associated with a project. This feature is typically found within the Actuals tab of an accepted project, where users can create new actual cost entries or edit existing ones.
Key benefits include:
Improved Accuracy: Capture costs with greater precision, whether by units or by total invoiced amounts.
Streamlined Data Entry: A larger, more user-friendly interface and the ability to directly input total costs for materials save time and reduce errors.
Enhanced Visibility: The new Submitted vs. All views offer tailored perspectives on cost data, making it easier to see what's been logged versus what's pending.
Better Job Costing: More accurate actuals lead to more reliable job costing analysis, informing future estimates and business decisions.
This functionality is crucial for project managers, foremen, and accounting personnel who need to maintain an up-to-date record of project financials.
Configuration
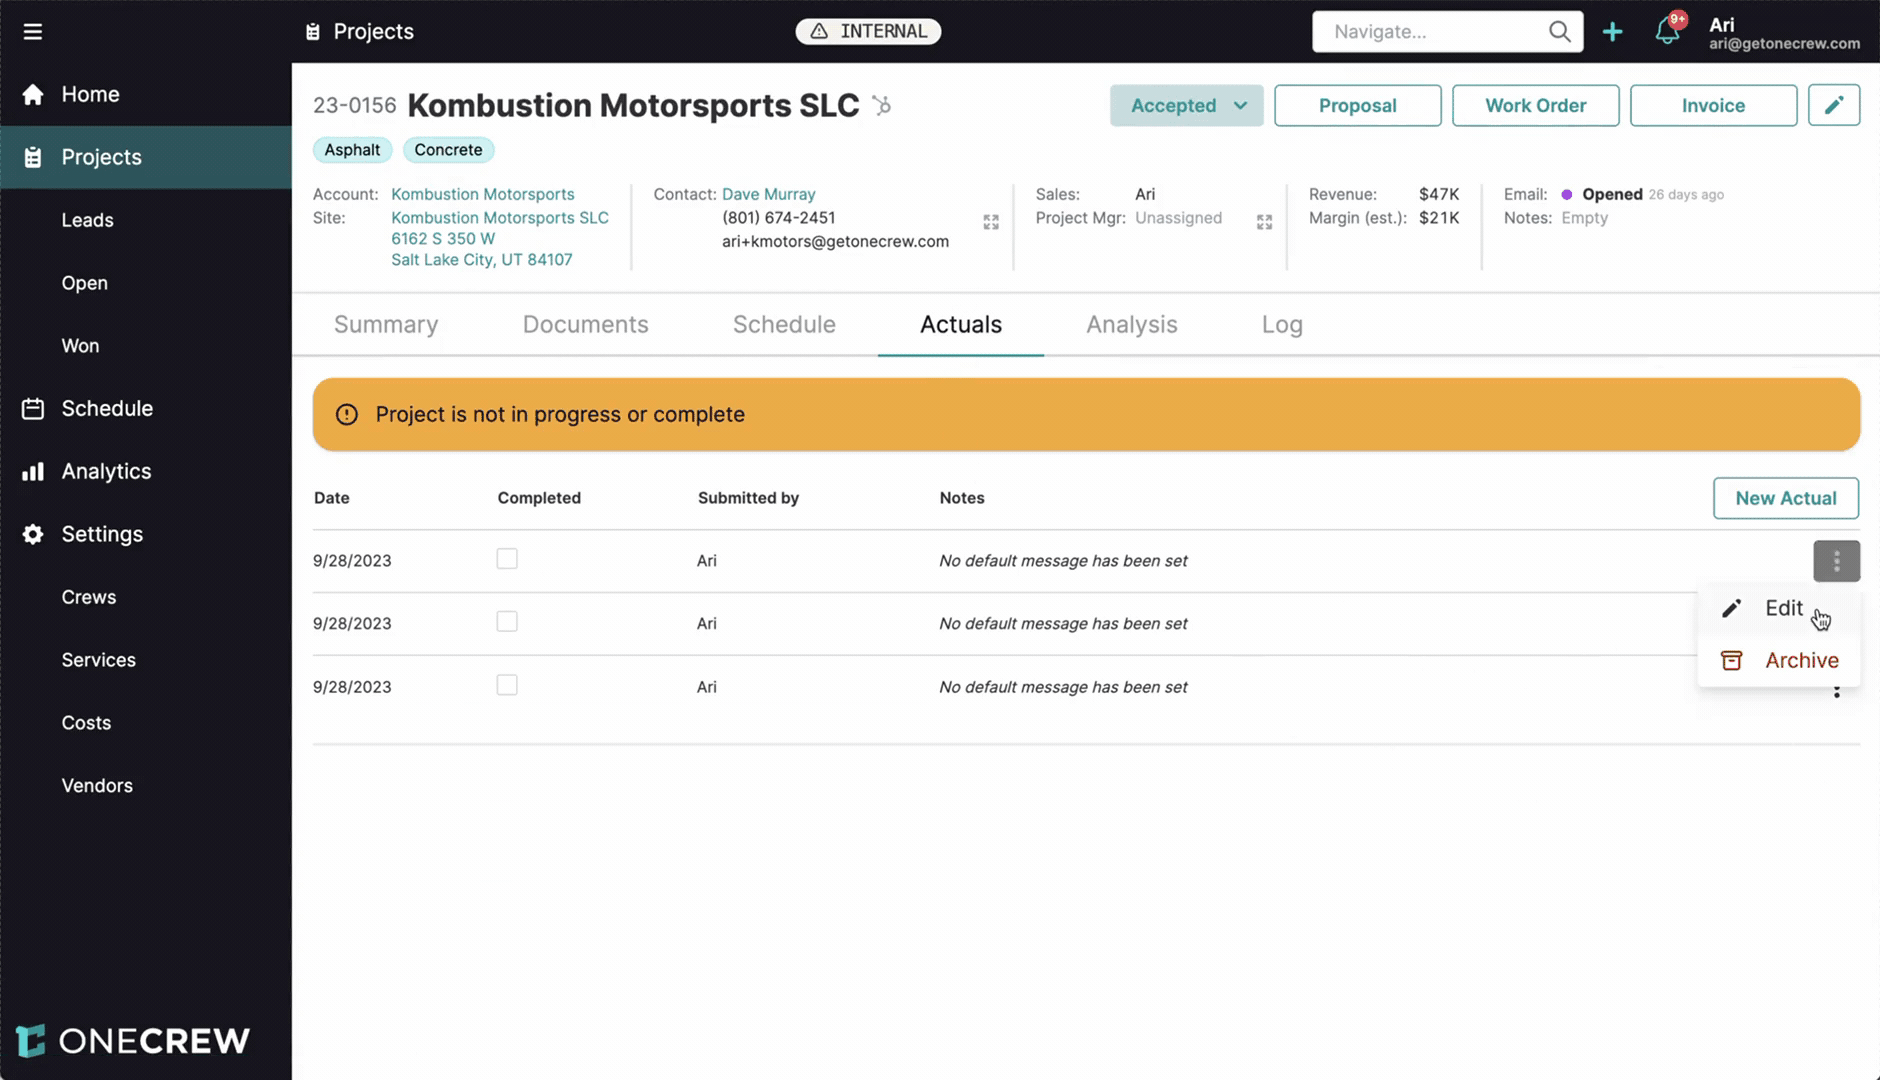
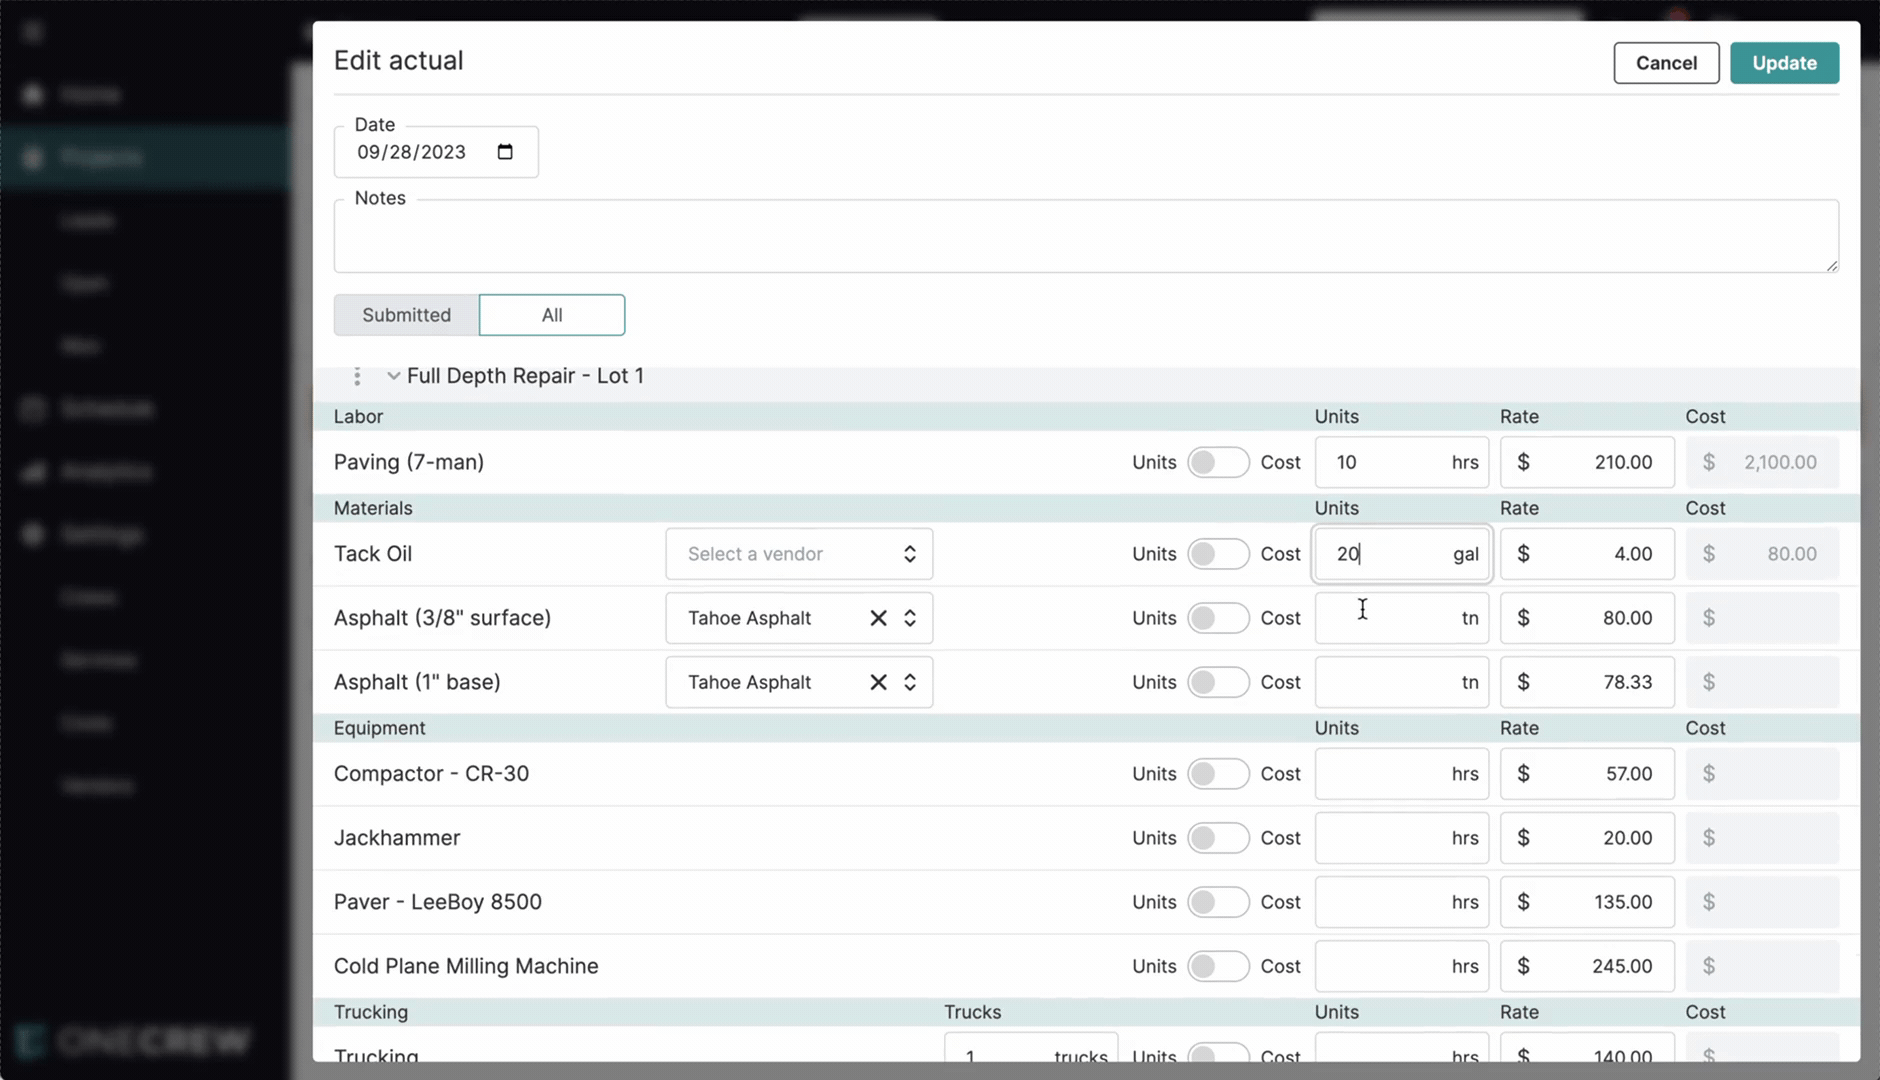
Accessing and configuring an actual cost entry involves a few key steps and options within the "Edit actual" modal, which appears when you create a New Actual or Edit an existing one from the project's Actuals tab.
The "Edit actual" modal is designed with a larger interface for improved usability. At the top, you'll find:
Date: The date for which the actual costs are being recorded. Defaults to the current date but can be changed.
Notes: A free-text field to add any relevant comments or details about the actual entry.
Below these, the core configuration options for viewing and entering costs are:
The Submitted vs. All Toggle
This toggle controls which line items are visible within the current actual entry form:
Submitted: This view filters the list to display only the line items for which you have entered costs in this specific actual entry. If you open an actual entry that has previously saved costs, those items will appear. If it's a new entry or an existing one where you haven't added any costs yet for the line items shown, this view might initially appear empty or only show service/estimate headers.
All: This view displays all line items derived from the project's original estimate and any associated change orders. This is the default view when adding costs to new items, as it provides the full list of available services and materials to allocate costs against.
Insight: The Submitted view is invaluable for quickly verifying the costs you've just entered or are about to save, without the clutter of items that have no costs in the current actual. The All view ensures you have access to every potential cost item from your project plan.
Entering Costs for Line Items
For each line item (e.g., labor, material, equipment) listed, you can input actual costs. The method can vary slightly, especially for materials:
Standard Unit-Based Entry:
For most items like labor (e.g., "Paving (7-man)") or equipment, you'll enter the quantity in the Units field (e.g., 10 hours).
The system uses the pre-defined Rate for that service item.
The total Cost is automatically calculated (Units × Rate = Cost).
This also applies to materials where you know the exact quantity used (e.g., 20 gallons of Tack Oil).
Total Cost-Based Entry (Primarily for Materials): This is particularly useful when you receive an invoice for a material (like asphalt) with a total cost, but the exact tonnage might not be your primary input method or you want to ensure the cost matches the invoice precisely.
Locate the material line item (e.g., "Asphalt (3/8" surface)").
You can often directly input into the Cost field. Some interfaces may have a small toggle switch (often labeled Units/Cost) to explicitly switch input modes.
Enter the total Cost (e.g., $1400.00) for that material as per your invoice or record.
The system will then use this Cost and the existing Rate (e.g., $80/ton) to calculate and populate the Units field (e.g., 17.5 tons).
You can also adjust the Rate if the supplier's rate for that delivery was different from your standard. If the Cost is fixed, adjusting the Rate will recalculate the Units.
Pro Tip: When entering a total cost for materials, if the calculated units seem off, double-check the Rate field. You might need to update the rate for that specific entry to accurately reflect the supplier's pricing for that delivery, which will then correctly adjust the calculated units. Learn more about managing your service item rates [add link to relevant article on service items/catalog].
After entering all costs, click the Update (or Save) button to record the actuals.
Use Cases
Understanding when and why to use the various aspects of this feature will maximize its benefits:
Daily Cost Logging: Field supervisors or project managers can quickly log daily labor hours, equipment usage, and materials consumed directly on site or at the end of the day.
Reconciling Supplier Invoices: When a supplier invoice arrives for a bulk material (e.g., asphalt, concrete) with a total price, you can enter this total cost directly, and the system can help calculate the units based on a standard rate. This is especially useful if the exact quantity wasn't measured precisely at the time of delivery but the total cost is known.
Quick Review of Logged Expenses: Use the Submitted view within an actual entry to see only the line items for which costs were entered in that specific instance. This is perfect for a quick check or verification of a particular day's or batch's entries.
Comprehensive Cost Allocation: Employ the All view to see every line item from the original estimate and any change orders. This ensures no potential cost category is overlooked when allocating actual expenses.
Tracking Variances: By accurately logging actuals, you can more easily compare them against the original estimate using project analysis tools, helping to identify and understand variances. [add link to project analysis features]
Examples
Let's illustrate with a common scenario for an asphalt paving project. Imagine you are editing an actual for September 28, 2023.
Example 1: Logging Daily Labor and Standard Material Usage
Navigate to the project's Actuals tab and either create a New Actual or Edit an existing one for the relevant date.
In the "Edit actual" modal, ensure the All view is selected to see all line items from your estimate.
Under "Labor" for the service "Paving (7-man)":
Enter
10in the Units field (representing 10 hours).If the rate is $210/hr, the Cost field will automatically populate with
$2,100.00.
Under "Materials" for "Tack Oil":
Enter
20in the Units field (representing 20 gallons).If the rate is $4.00/gallon, the Cost field will show
$80.00.
Example 2: Entering Bulk Material Costs from Supplier Invoices
Continuing in the same "Edit actual" modal:
Under "Materials" for "Asphalt (3/8" surface)":
You've received an invoice for $1,400.00 for this asphalt type.
Directly enter
$1400.00into the Cost field for this line item.If your system's standard rate for this asphalt is $80.00/ton, the Units field will automatically calculate and display
17.5(tons).
For "Asphalt (1" base)":
The invoice for this base asphalt is $5,432.19.
Enter
$5432.19into the Cost field.If the rate is $78.33/ton, the Units field will populate with
69.35(tons).
Example 3: Reviewing Submitted Costs
After entering all the costs from Example 1 and 2, click Update to save this actual entry.
If you then re-open this same actual entry by clicking Edit:
By default, it may open in the Submitted view.
In this view, you will now see only the line items you just added costs for: "Paving (7-man)," "Tack Oil," "Asphalt (3/8" surface)," and "Asphalt (1" base)," along with their entered costs. Other items from the estimate (e.g., "Concrete - Sidewalks," "Compactor - CR-30") for which no costs were entered in this specific actual will be hidden.
To see all items again, simply toggle to the All view.
By leveraging these enhanced actual cost entry features, you gain a powerful and flexible way to manage project financials, ensuring that your job cost data is both comprehensive and accurate. This, in turn, supports better decision-making and improved profitability.