GPS Based Time Tracking
Last updated: August 7, 2025
Watch Video Demo Here
Overview
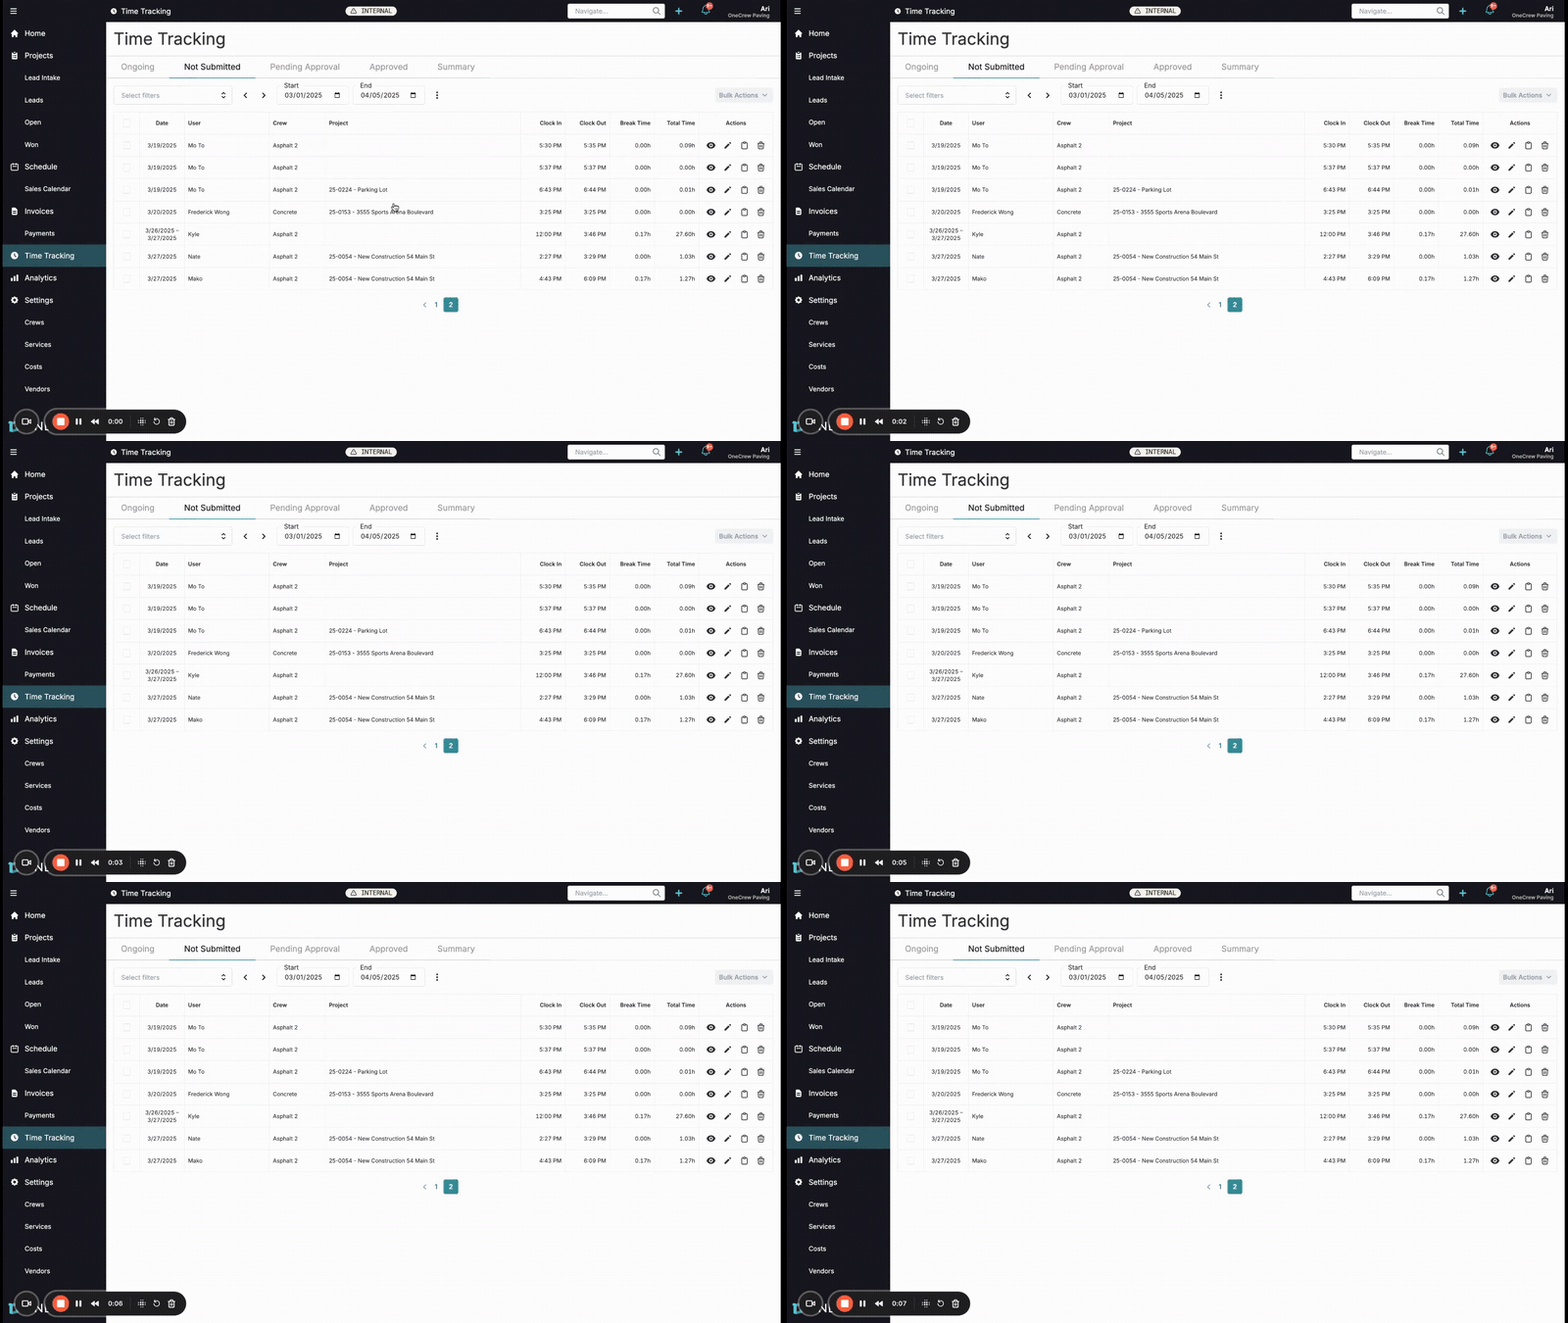
Our Time Tracking feature now incorporates GPS location stamping for enhanced accuracy and verification. This update automatically captures the geographical location of an employee at the moments of Clock In, Event Transfer (e.g., switching from travel time to on-site work), and Clock Out. This functionality is seamlessly integrated for users on both mobile devices (via the app or browser) and desktop browsers.
The primary benefits of GPS-enabled time tracking include:
Increased Accuracy: Ensures time entries are associated with specific work locations.
Improved Verification: Provides managers with the ability to confirm that employees were at the designated job site or home office when they clocked in or out.
Streamlined Payroll: Reduces discrepancies and disputes related to time and location.
Enhanced Accountability: Promotes punctuality and accurate reporting of work hours.
Insight: GPS-stamped time entries provide an additional layer of trust and transparency, ensuring that work hours are accurately attributed to the correct locations and projects.
Configuration
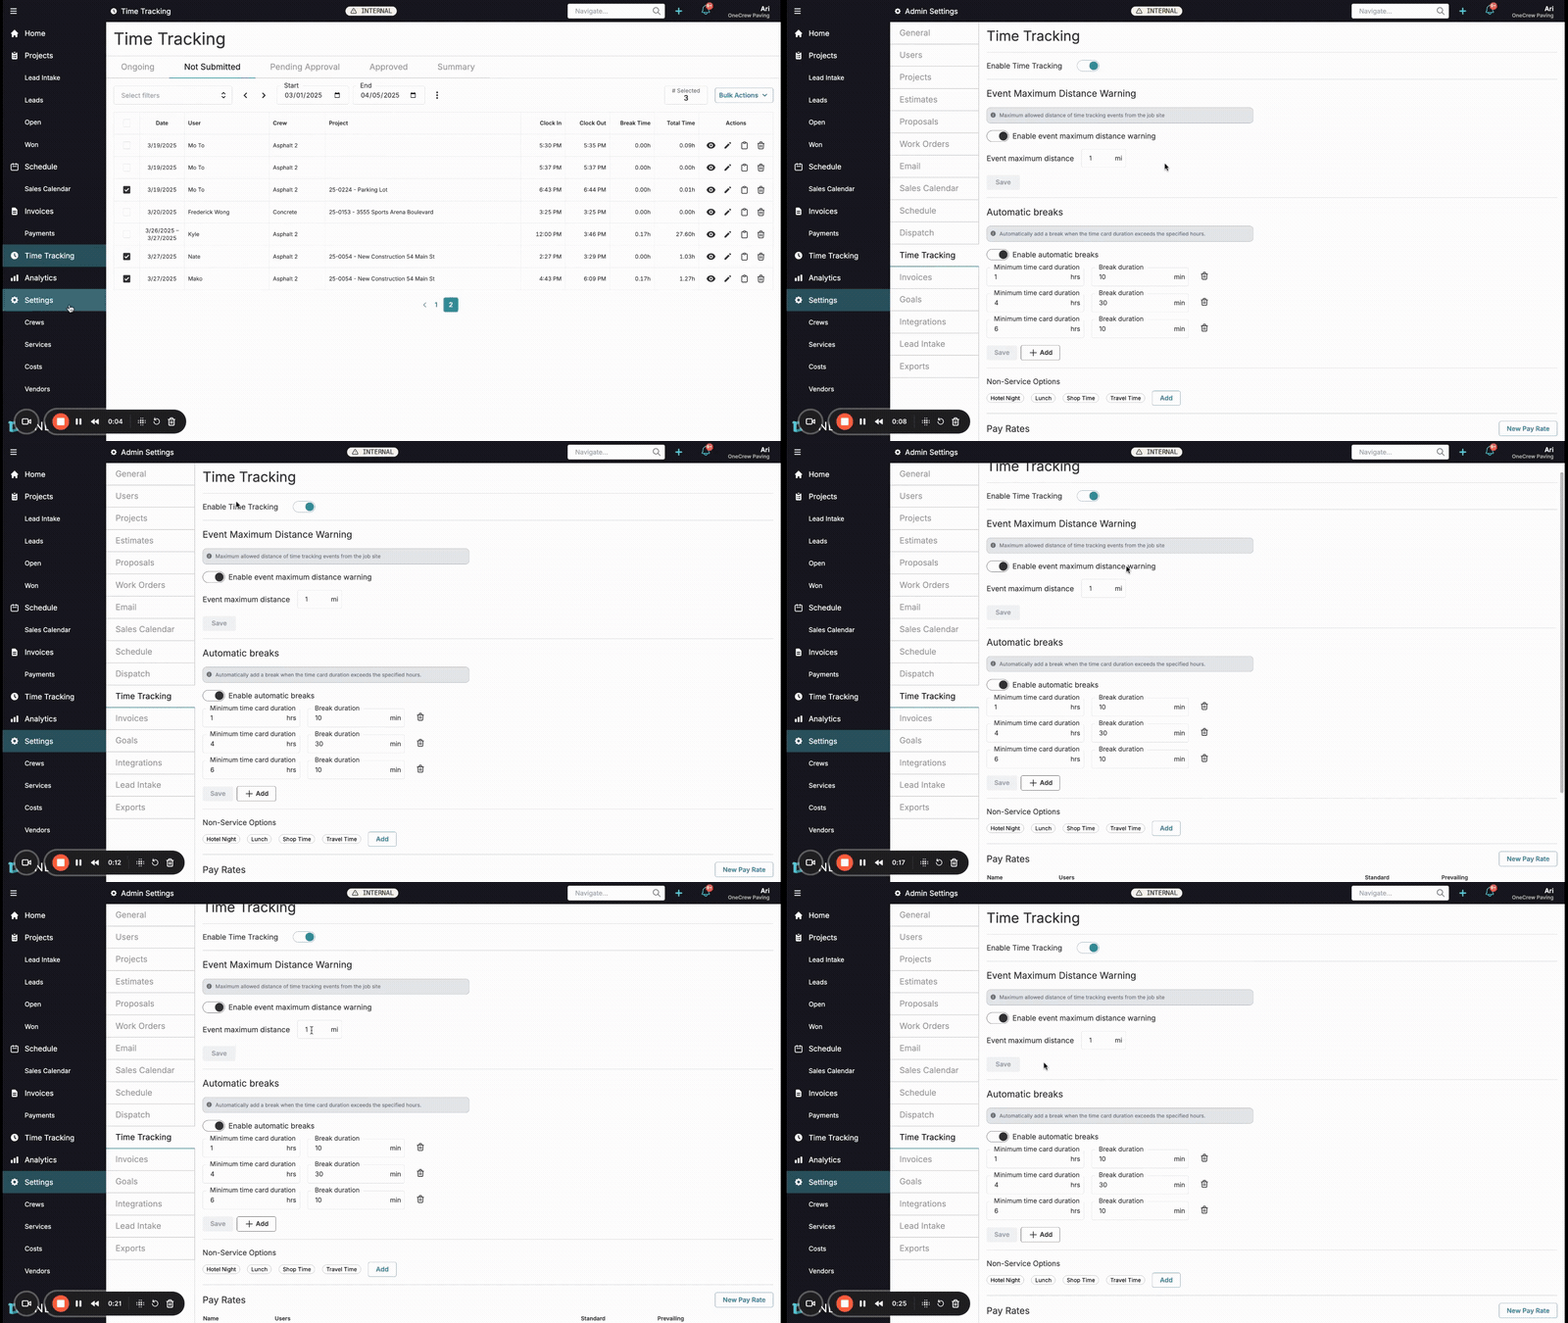
To utilize GPS location stamping with Time Tracking, ensure the general Enable Time Tracking setting is active. The primary configuration specific to location services is the Event Maximum Distance Warning.
Navigate to Settings in the main menu.
Select Time Tracking from the settings submenu.
Locate the Event Maximum Distance Warning section.
Enable event maximum distance warning: Toggle this switch to activate or deactivate the warning system.
Event maximum distance: If enabled, set a maximum distance (e.g., 1 mile) from the job site or home office. If an employee clocks in, clocks out, or performs an event transfer beyond this specified distance, a warning will be flagged on their time card for review.
Click Save to apply your changes.
For mobile users, when they first access the time tracking feature after this update, their device (app or browser) will prompt them to share their location. They must approve this request for GPS stamping to function. If location services are denied by the user, or if the location cannot be captured (e.g., poor GPS signal, location services turned off on the device), a notification will appear on the time card indicating "Location denied" or "Location missing."
Pro Tip: Regularly review the Event Maximum Distance Warning setting to ensure it aligns with your operational needs. A common setting is 1 mile, but this can be adjusted based on the typical proximity of your crews to job sites.
Use Cases
GPS-enabled Time Tracking is valuable in various scenarios:
Verifying Job Site Presence: Confirm that field crews are clocking in and out at the actual job site. This is crucial for accurate job costing and client billing. For example, if a project is at "123 Main St," you can see if the clock-in occurred at or near that address.
Tracking Travel Time Accurately: When employees transfer from "Travel Time" to an "On-Site" event, the GPS stamp confirms they have arrived at the job site, ensuring travel time is logged correctly.
Monitoring Remote or Multi-Site Workers: For businesses with employees working across various locations, GPS tracking helps confirm their presence at the assigned sites during work hours.
Reducing Time Theft: By capturing location at clock-in/out, it discourages "buddy punching" or clocking in before arriving at the work location.
Auditing Time Cards: When reviewing time cards, especially those with discrepancies, the map view provides quick visual confirmation of where an employee was for each time entry. This is particularly useful if a time entry seems unusual or if an employee claims to have been at a location different from what is expected.
Examples
Here’s how GPS-enabled Time Tracking works in practice, enhancing the review process:
Reviewing a Single Time Card
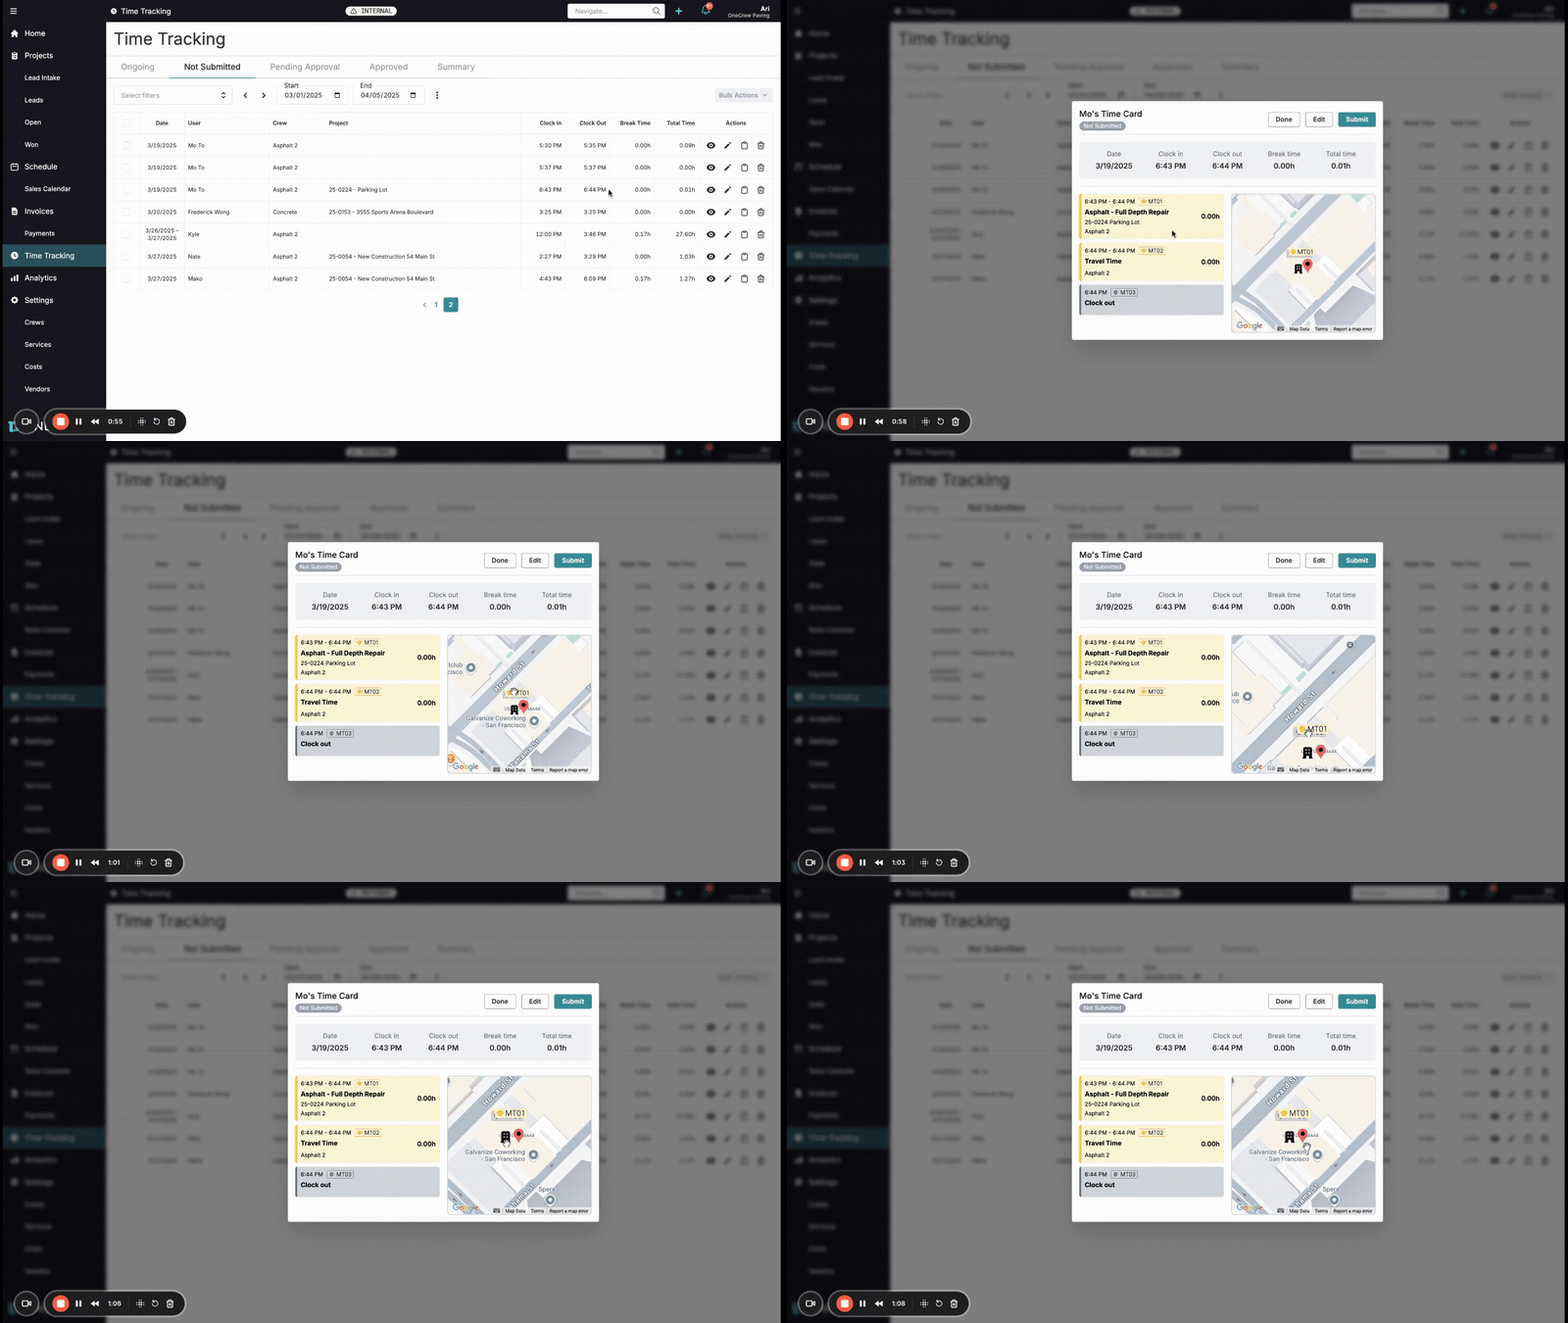
When viewing an individual employee's time card (e.g., from the Not Submitted tab in Time Tracking, by clicking the View (eye) icon for a specific entry), you'll see a map displayed alongside the time entry details.
Map Display: The map will show pins for each GPS-stamped event (clock-in, event transfers, clock-out).
Location Indicators:
A building icon typically represents the Home Office location.
A pin icon represents the Job Site associated with the project.
Numbered pins (e.g., MT01, MT02, MT03) correspond to the specific time entries (clock-in, travel time, clock-out).
Interactive Pins: Hovering over a specific time entry in the list (e.g., "6:43 PM - Asphalt - Full Depth Repair") will highlight or bring the corresponding pin (MT01) to the forefront on the map, making it easy to see exactly where that event was recorded. This is especially helpful if multiple pins are clustered in one area.
For instance, Mo's time card shows he clocked in for "Asphalt - Full Depth Repair," then had "Travel Time," and finally "Clock out." All these events occurred very close to the Home Office and the designated Job Site, which share a similar address in this example. Hovering over each entry shows the precise location stamp for that action.
Reviewing Multiple Time Cards (Bulk View)
You can also review the locations for multiple time cards simultaneously:
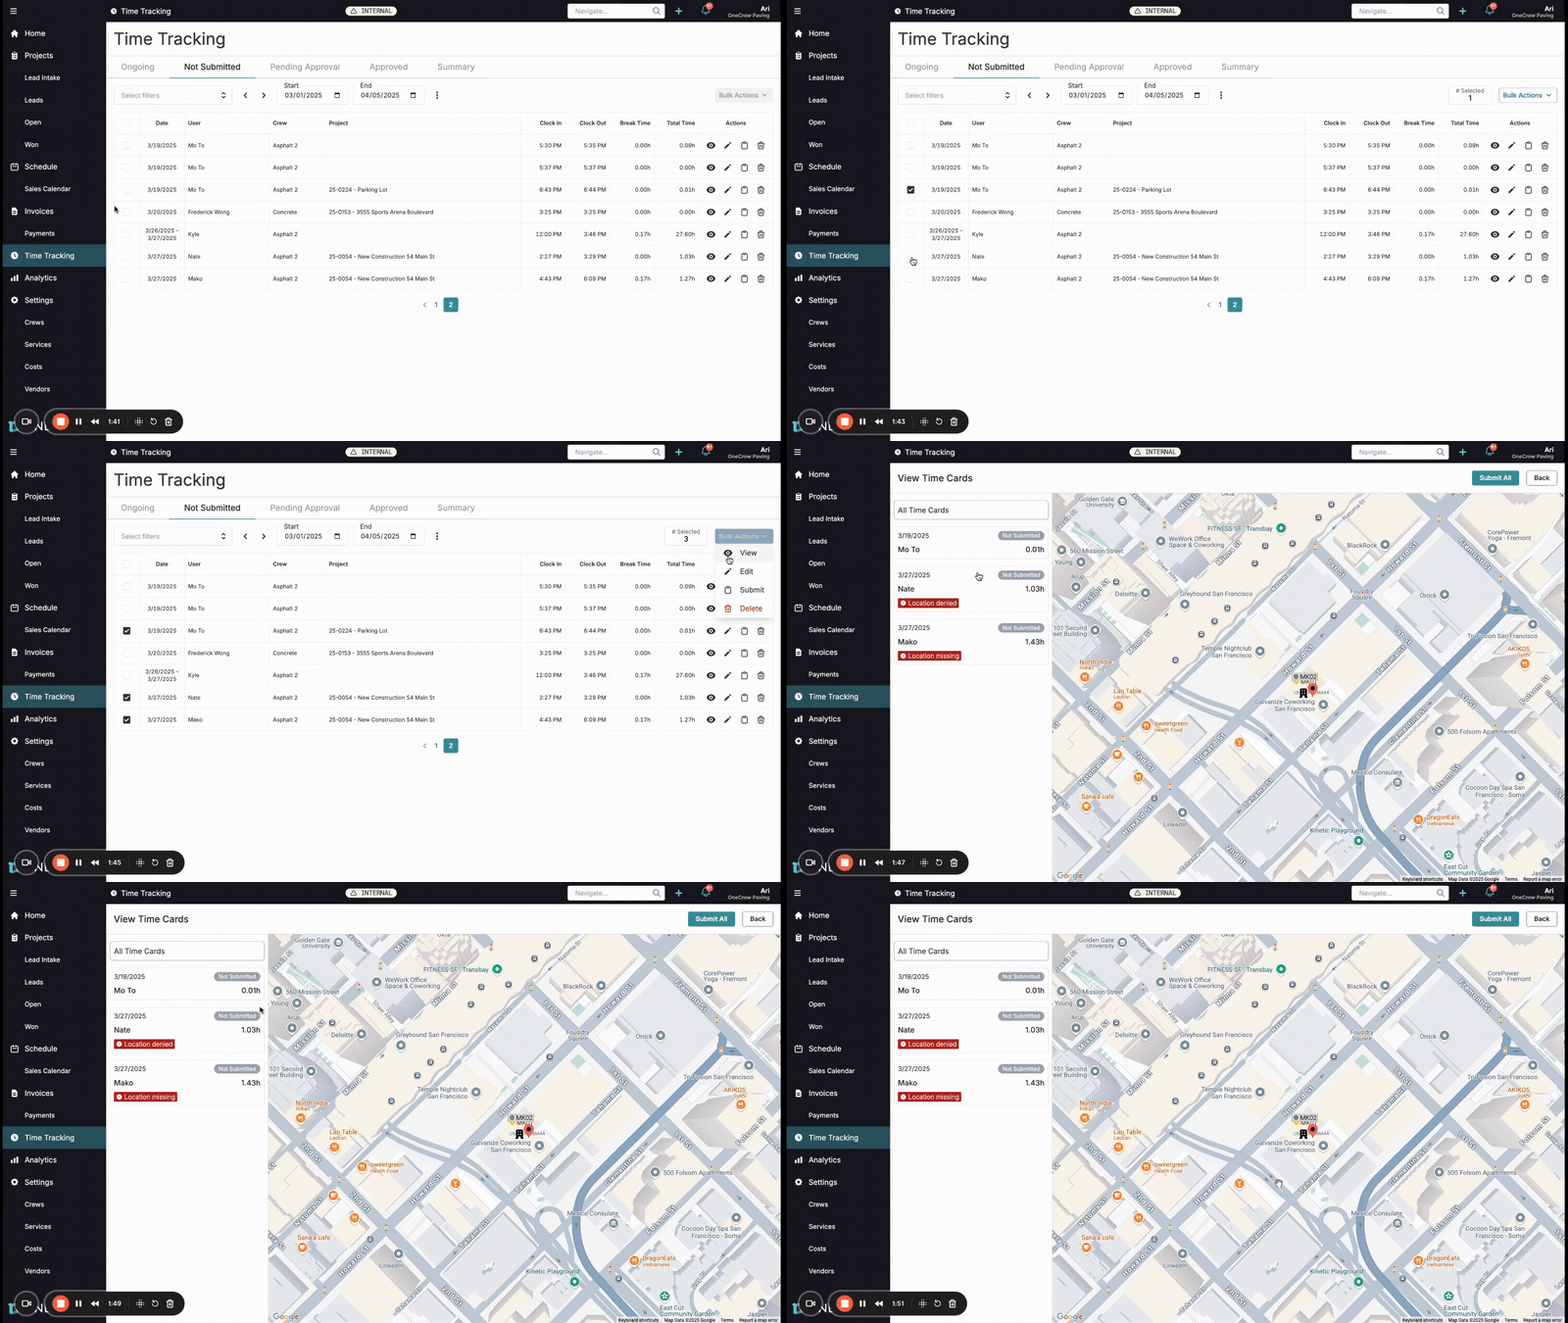
In the Time Tracking section (e.g., Not Submitted tab), select the checkboxes next to the time cards you wish to review.
Click the Bulk Actions button and choose View Time Cards.
A new screen will appear with a list of the selected time cards on the left and a larger map on the right.
The map will display all location pins for all selected time cards. Hovering over a specific time entry in the list on the left will highlight its corresponding pin on the map.
Handling Location Warnings
In the bulk view, or on individual time cards, you may encounter warnings:
Location denied: This indicates the user actively chose not to share their location when prompted by their device or browser. You may need to follow up with the employee to understand why and ensure they enable location sharing for future accuracy.
Location missing: This means the system could not capture the location for that specific event. This could be due to various reasons, such as the employee's device having no GPS signal, location services being turned off at the device level, or if the time entry was made before the GPS tracking feature was fully active for that user.
Event Maximum Distance Warning: If a clock-in/out event occurs further from the job site/home office than the configured Event maximum distance, a warning will be displayed on the time card. For example, if the limit is 1 mile and an employee clocks in 2 miles away, this will be flagged.
From both single and bulk time card views, you can click Edit to make necessary adjustments to the time card details if a location discrepancy reveals an error in the time entry itself.
Learn more about managing Time Card approvals [add link to relevant article].