Quickbooks Integration: A Guide
Last updated: September 3, 2025
Watch Video Demo Here
Overview
This tutorial will guide you through the process of sending invoices directly from OneCrew to your QuickBooks Online account. Integrating these two platforms streamlines your accounting workflow, reduces manual data entry, and ensures your financial records are accurate and up-to-date. This walkthrough assumes you have already successfully connected OneCrew to QuickBooks Online and configured your initial settings, such as default income accounts and service mappings. Learn more about the initial setup.
Insight: Directly pushing invoices from OneCrew to QuickBooks Online bridges the gap between your project management and accounting. This automation not only saves considerable time but also minimizes errors, leading to more reliable financial reporting and faster payment cycles.
Step-by-Step Guide
Follow these steps to send an invoice from a OneCrew project to QuickBooks Online:
Navigate to Your Project
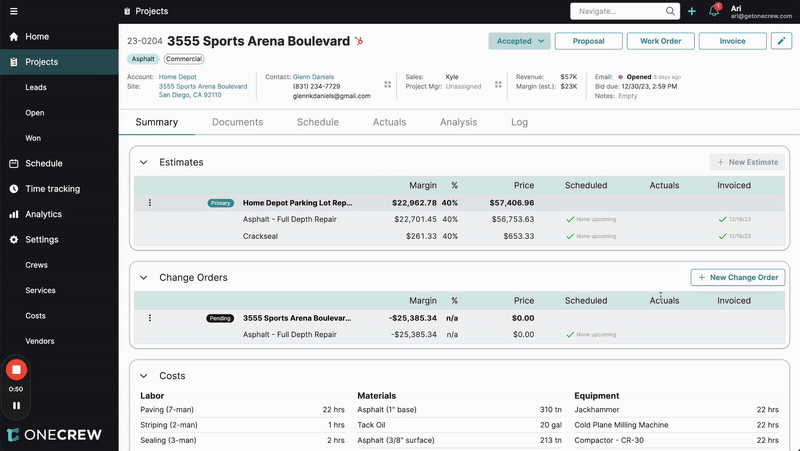
Open OneCrew and go to the Projects section.
Select the specific project for which you want to create and send an invoice. Ensure the project status allows for invoicing (e.g., "Accepted").
Generate the Invoice
On the project's summary page, locate and click the Invoice button, typically found in the top-right action bar.
The Generate Invoice window will appear.
OneCrew will suggest an Invoice #. You can modify this if needed.
Review the line items, which are pulled from your project's estimates. Each item will display its description, quantity (if applicable), rate, and total amount. Ensure all services you intend to bill for are checked.
Link OneCrew Account to QuickBooks Customer (If Necessary)
Click the Send To QuickBooks button.
If the OneCrew Account (your client) associated with the project has not yet been linked to a customer profile in QuickBooks, a "Link OneCrew Account with QuickBooks Customer" pop-up will appear.
Search for the existing customer in QuickBooks or select from the suggested list.
Click on the correct QuickBooks customer to establish the link. If the customer doesn't exist in QuickBooks, you'll need to add them in QuickBooks first.
Finalize and Send the Invoice
Once the customer is linked (or if they were already linked), you'll return to the Generate Invoice window. Click Send To QuickBooks again.
A confirmation message, such as "Invoice created," will briefly appear in OneCrew, indicating the invoice has been successfully pushed.
Verify in QuickBooks Online
Log in to your QuickBooks Online account.
Navigate to Sales from the left-hand menu, then select Invoices.
You should see the newly created invoice listed, reflecting the invoice number, customer name, amounts, and line items (e.g., "Full Depth Repair," "Crackseal") exactly as configured in OneCrew. The ship-to address from the OneCrew project site will also populate.
Pro tip: Before sending, ensure your OneCrew Account (client) names are consistent with your QuickBooks customer list. This simplifies the linking process if it's the first time invoicing that client through the integration.
Troubleshooting
If you encounter issues when sending invoices to QuickBooks Online, consider these common solutions:
Invoice Not Appearing in QuickBooks:
Check Connection: Verify that your QuickBooks integration is still active in OneCrew under Settings > Integrations.
Customer Linking: Ensure the OneCrew Account is correctly linked to a QuickBooks Customer. If an invoice fails to send, try sending it again; you may be prompted to link the customer.
Service Mappings: Confirm that all services included on the invoice are mapped to corresponding services in QuickBooks. This is done in Settings > Integrations > Configure Service Mappings. If a service isn't mapped, it may use a fallback service or fail to sync.
Incorrect Details on QuickBooks Invoice:
Source Data: Double-check the project details, line item descriptions, and amounts in OneCrew. The invoice in QuickBooks reflects this source data.
Default Settings: Review your default income account and payment terms in the QuickBooks integration settings in OneCrew. These defaults are applied to new invoices.
If discrepancies persist, especially with line items, meticulously review your Service Mappings. An incorrect mapping can lead to the wrong service or description appearing on the QuickBooks invoice.