Adding Vendors in OneCrew
Last updated: August 7, 2025
Watch Video Demo Here
Overview
Effectively managing your vendors is crucial for accurate project costing and streamlined operations. This tutorial will guide you through the process of adding new vendors to your OneCrew account. By centralizing vendor information, you can easily associate materials, track costs, and maintain a clear record of your suppliers.
Step-by-Step Instructions
Follow these steps to add a new vendor to your OneCrew system:
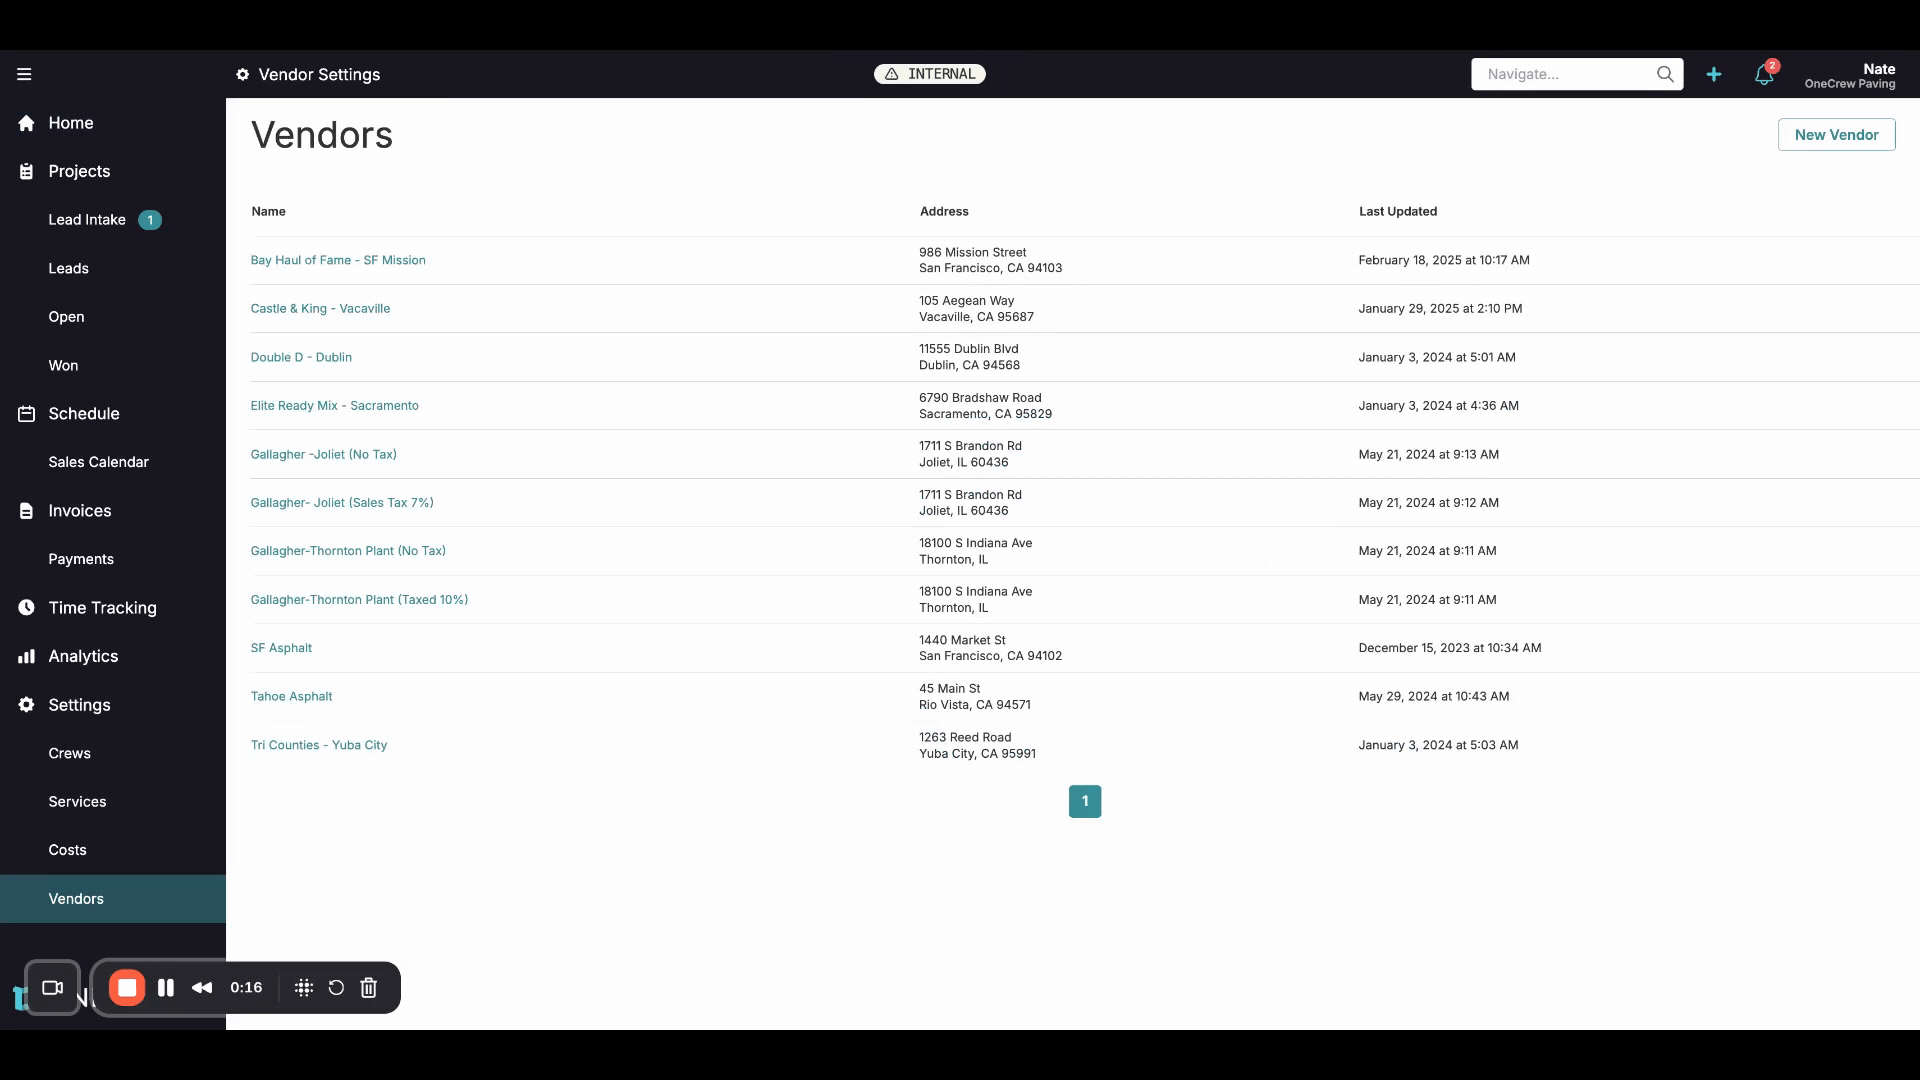
Navigate to the Vendors Section From the main OneCrew dashboard, locate the left-hand navigation menu. Click on the Vendors tab to open the main Vendors page. Here, you'll see a list of any existing vendors.
Initiate New Vendor Creation On the Vendors page, look to the top right-hand corner and click the New Vendor button. This action will open the "New vendor" form, ready for you to input details.
Enter Vendor Details You will now see a form to input the new vendor's information. Fill in the following fields:
Name: Enter the official name of the vendor. This field is required.
Street: Input the vendor's street address. You can also add an Additional address line if needed.
City, State, ZIP Code: Provide the complete city, state, and zip code for the vendor's location.
Phone Number: Enter the vendor's primary phone number and an optional Ext. (extension).
Email: Add the vendor's email address for communication.
Notes: Use this space to add any relevant notes or comments about the vendor.
Pro Tip: While only the Name is mandatory, providing comprehensive details like address and contact information will make managing your vendors much more efficient. And will allow you to track the distance to various sites.
Save the Vendor Once you have entered all the necessary information, click the Create button, typically located in the top right corner of the form, to save the new vendor. The vendor will now appear in your list of vendors.
Associate Materials and Costs (Optional) After a vendor is created, you can link specific materials or services they provide, along with their rates. To do this, select the vendor from the list to open their details page. Under sections like Materials or by using an "Add Cost" option, you can define items (e.g., "Asphalt," "Trucking"), specify Units (e.g., Meters, Tons, Days), and set the Rate.
Insight: Linking materials and costs directly to vendors is key for precise job costing and helps in generating accurate estimates and invoices.
Troubleshooting
Here are some common issues you might encounter and how to resolve them:
Cannot Save Vendor: Ensure all mandatory fields, often marked with an asterisk (like Name), are filled in. The system will prevent saving if required information is missing.
Incorrect Vendor Information: If you've made an error, simply navigate back to the Vendors list, click on the vendor's name to open their details, make the necessary corrections, and click Save.
Vendor Not Appearing in List: Double-check that you clicked the Create or Save button after entering the details. If you navigated away before saving, the information might be lost. Try refreshing the vendor list.