Project Document Folders
Last updated: September 25, 2025
Watch a Video Demo Here
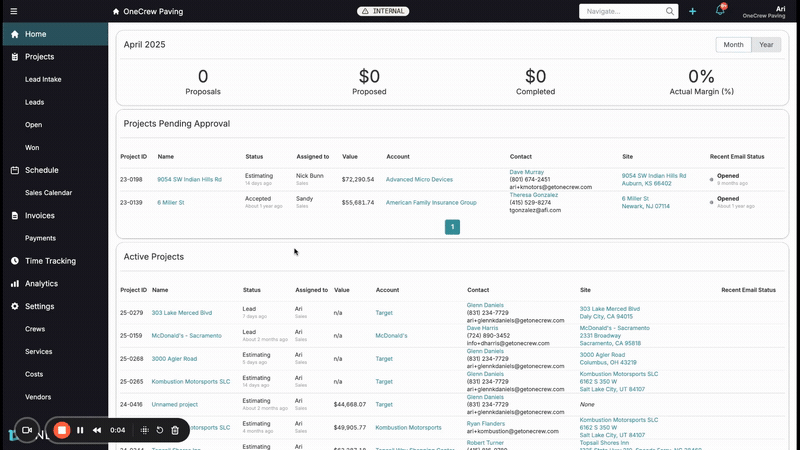
Overview
Effectively managing project documents is crucial for smooth operations, clear communication, and maintaining a comprehensive project history. This tutorial will guide you through setting up default document folders for new projects and managing documents within existing projects. By standardizing your document organization, you can ensure consistency, improve accessibility, and streamline workflows across your team.
Step-by-Step Guide
Streamline your project documentation by setting up a consistent folder structure from the outset and efficiently managing files as your project progresses.
1. Configure Default Project Document Folders
Establish a standard set of folders that will automatically be created for every new project. This ensures consistency and saves time.
Navigate to Settings from the main menu on the left.
Under Admin Settings, select Projects.
Scroll down to the Project Documents Default Folders section. This is where you'll define the folder structure for new projects.
Click the New Folder button.
In the "Create a New Folder" pop-up, enter a descriptive name for your default folder (e.g., "Site Photos," "Contracts," "Permits") in the FOLDER NAME field and click Done.
Repeat steps 4-5 to add all desired default folders. These folders will now automatically appear in the Documents tab of any newly created project.
Pro Tip: Folders are listed alphabetically. To control their display order within projects, prefix folder names with numbers (e.g., "1 - Before Photos", "2 - After Photos"). You can rename existing default folders by clicking the three-dot menu next to a folder name and selecting Rename.
2. Manage Documents Within a Specific Project
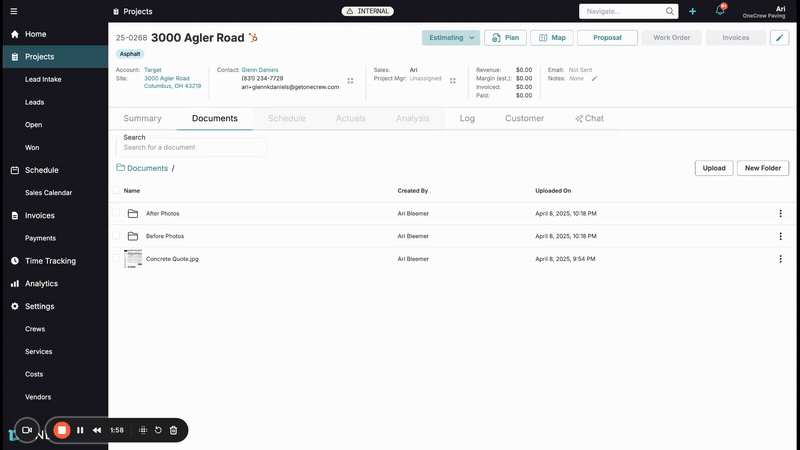
Once default folders are in place, or if you need a custom structure for a particular project, you can easily manage documents directly within that project.
Open the desired project and navigate to the Documents tab. You'll see any pre-configured default folders.
Create Additional Folders: Click the New Folder button on the top right, enter a FOLDER NAME in the pop-up, and click Create. You can create folders within other folders (nested folders) for deeper organization. Use the breadcrumbs (e.g., Documents / Main Folder / Sub Folder) at the top to navigate your folder hierarchy.
Upload Files:
Click the Upload button to browse your computer and select files.
Alternatively, drag and drop files directly from your computer onto the main documents area or into a specific folder. The area will highlight to indicate it's ready for the drop.
Organize Files and Folders:
Move: Drag and drop individual files or folders into other folders. For bulk moves, select multiple items using the checkboxes that appear on hover, then click the Move button that appears at the top, choose the destination folder in the "Move Selected Items" pop-up, and click Move again.
Rename/Delete: Click the three-dot menu next to any file or folder to Rename or Delete it. You can also select multiple items and use the Delete button at the top.
Search: Use the Search bar at the top of the Documents tab to quickly find files or folders by name across the current project's document storage.
Insight: A well-organized document structure isn't just for internal efficiency. These folders and files are easily accessible when you need to share documents via the Customer Portal, attach them to Proposals, or include them in Work Orders, ensuring everyone has the right information when and where they need it.
Troubleshooting
Default folders not appearing in new projects?
Ensure you clicked Done after creating each default folder in Settings > Projects.
Default folders only apply to projects created after the defaults were set. Existing projects will not be affected.
Files uploaded to the wrong folder?
Simply drag and drop the file(s) to the correct folder.
Alternatively, select the item(s), click Move, and choose the correct destination.
Can't find a specific document?
Utilize the Search bar within the project's Documents tab.
Double-check your folder navigation; you might be in a subfolder. Use the breadcrumbs to navigate up.
Accidentally deleted a file or folder?
Deletion is typically permanent. Be sure before deleting items. Consider downloading a backup of important files if you're unsure.