Exporting Project Data
Last updated: August 7, 2025
Watch a Video Demo Here
Overview
This tutorial will guide you through the process of exporting detailed information for your projects. Exporting project data allows you to access a comprehensive dataset beyond what's immediately visible on the Projects page. This is particularly useful for in-depth analysis, custom reporting, or sharing project information in a universally accessible format like Excel. You'll learn how to export all projects or a filtered selection, giving you access to a wider array of data points including key dates, financial summaries, and change order details.
Step-by-Step Guide
Follow these steps to export your project data:
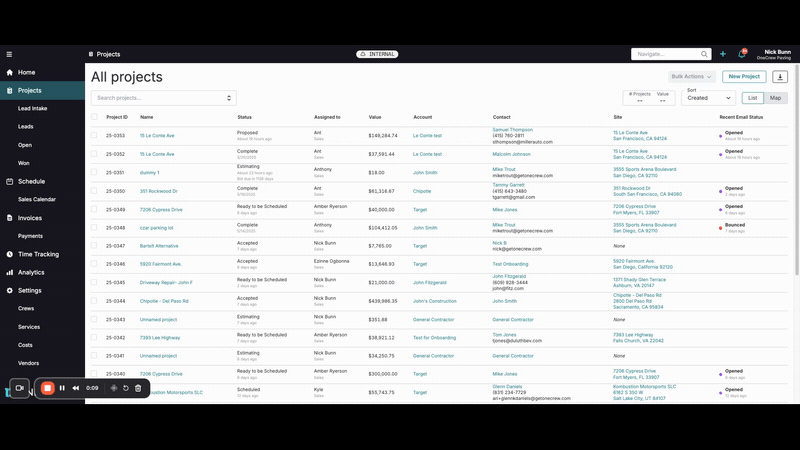
Navigate to the Projects page from the main menu on the left side of your screen. This page displays a list of all your projects.
In the top right corner of the All projects view, locate and click the Export button.
A Choose Export pop-up window will appear. You have two options:
Export Projects: Click this button to download a comprehensive report of project details.
Export Actuals: Click this button if you specifically need data related to project actuals. For this tutorial, we will focus on Export Projects.
After clicking Export Projects, the system will generate and download an Excel file containing the project data.
Insight: The exported Excel file provides a much richer dataset than what's visible on the Projects page. It includes detailed information such as project creation dates, proposal dates, sold dates, the number and value of change orders, and invoice details, all in one convenient file.
Refining Your Export with Filters

You can also export a specific subset of your projects by applying filters before exporting.
On the Projects page, use the search bar (labeled Search projects...) or click on filterable column headers to narrow down the list of projects. For example, to export only projects with a "Proposed" status:
Type "Proposed" into the search bar.
Select Status: Proposed from the filter suggestions that appear. The project list will update to show only projects matching this criterion.
You can add multiple filters. For instance, after filtering by status, you could also filter by Proposed Date:
Click into the search bar again.
Type or select Proposed Date.
Choose a date or date range (e.g., "after 5/1/2025"). The list will further refine.
Once your filters are applied and the project list displays the desired subset, click the Export button in the top right corner.
Select Export Projects. The downloaded Excel file will now only contain data for the filtered projects.
Pro Tip: Applying filters before exporting is an efficient way to get precisely the data you need, saving you time from sifting through a larger dataset later.
Troubleshooting
No data in export file / Fewer projects than expected:
Ensure that any filters applied are correctly set. If you have active filters, only the projects matching those filters will be exported. Click Clear Filters if you want to export all projects.
Export button is not visible:
You might not have the necessary permissions to export data. Contact your system administrator for assistance.
File format issues:
The export is in Excel format (.xlsx). Ensure you have compatible software to open it.