Rounded and Circular Areas
Last updated: August 7, 2025
Watch Video Demo Here
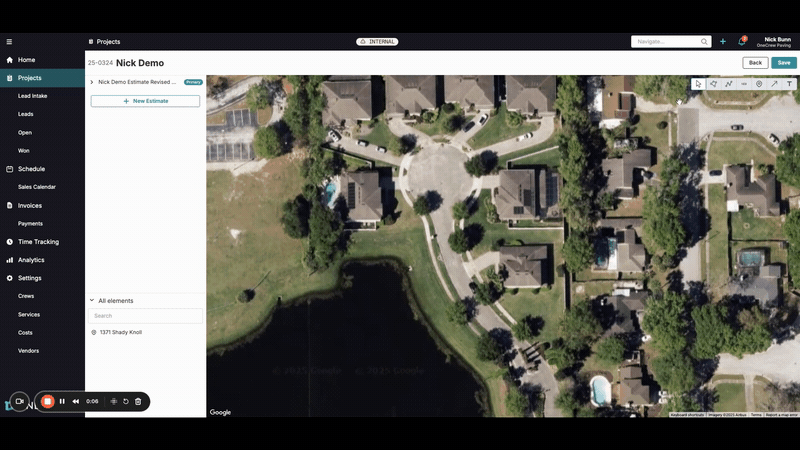
Overview
Precisely measuring non-linear areas, like cul-de-sacs or curved landscape beds, can be challenging. This tutorial provides a step-by-step guide on how to use the area measurement tool to accurately outline and calculate these rounded or circular spaces. Whether you need a quick approximation or a highly detailed measurement, these techniques will help you capture complex shapes with ease.
Step-by-Step Guide
There are two primary methods to create rounded or circular areas: detailed point-by-point plotting for irregular curves, and midpoint adjustments for more uniform circles.
Method 1: Plotting Irregular Rounded Shapes
This method is best for tracing organic or irregular curves.
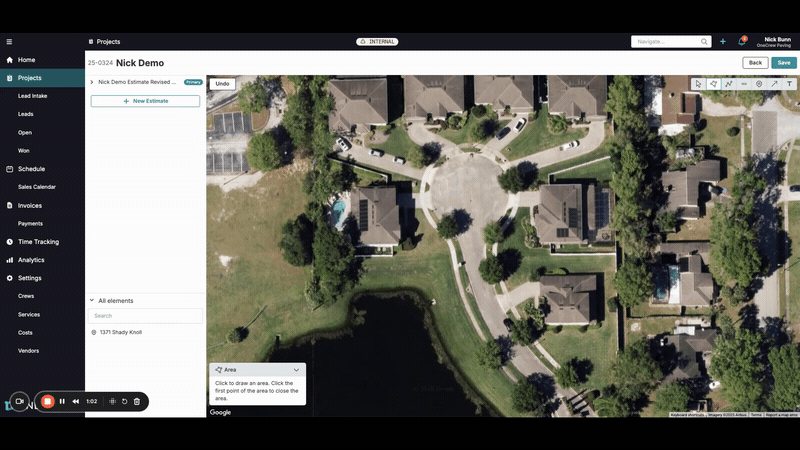
Select the Area tool from the toolbar. Your cursor will change, indicating you can start drawing.
Click your mouse at your desired starting point on the edge of the area you want to measure.
Continue clicking along the perimeter of the rounded shape. Each click will place a point, and a line will connect to the previous point, gradually forming the outline.
Pro tip: For smoother curves, use more clicks placed closer together. For broader curves, fewer clicks spaced further apart will suffice.
To complete the shape, click back on your very first point. The area will highlight, and its measurements (e.g., square footage, perimeter) will appear.
After the area is created, you can still adjust it. Click and drag any of the points (small white circles) along the perimeter to fine-tune the shape.
Method 2: Creating Circular Shapes with Midpoint Adjustments
This method is efficient for creating more uniform circular areas.
Select the Area tool.
Instead of many small clicks, create a simpler polygon (like a square, pentagon, or hexagon) that roughly encompasses the circular area you want to measure. Click to place the corners of this initial polygon.
For example, to create a circle, you might start by clicking five points to make a pentagon shape.
Click back on your first point to close the polygon. The area will be defined.
Zoom in on your shape if needed for better precision.
You will see small white circles at each corner (vertex points) and also at the midpoint of each line segment.
Click and drag these midpoints outwards. As you pull a midpoint, it becomes a new vertex, and two new midpoints will appear on the newly created segments.
Continue adjusting these midpoints, pulling them outwards, until your polygon transforms into a smooth circular shape. Each adjustment allows you to refine the curve.
Insight: This midpoint adjustment feature allows you to start with a simple shape and iteratively add detail, effectively "sculpting" it into a circle. This can be faster and result in a more uniform circle than plotting many individual points.
Once satisfied, the area is measured. You can click Save if you are finished with your estimate.
Troubleshooting
Area Not Closing: If your shape doesn't highlight or show measurements, ensure your final click was directly on the initial starting point. A small visual cue, like the point enlarging slightly, often indicates a successful closure.
Jagged or Angular Circles:
If using Method 1, you may need to add more points closer together when initially drawing the shape or go back and adjust existing points.
If using Method 2, continue to adjust the midpoints. The more midpoints you "pull out" and refine, the smoother your circle will become.
Accidentally Moved a Point: If you make a mistake while adjusting, you can often use an Undo button (if available in your interface, typically near the drawing tools) or simply click and drag the point back to a more accurate position.